As I was to discover it was not all about the sewing, but also about the process of feathering the nest for a brand new little one. There was this urge to not only get things ready for this new addition, but to also create some beautiful little things and welcoming corners of the home.
I never had burp cloths with my first two. I had just used spare towelling nappies to clean up the inevitable messes that babies make. I did think it would be nice to use something a little prettier. Afterall you do tend to wear them on your shoulder permanently for the first few weeks. So, after a little research online and combining a few ideas I sewed up a batch of a dozen burp cloths. I used many a day the first few months and they are still being used right now. In fact, I may have needed more than a dozen. When I'm finished with them they will make a great addition to the rag collection.
I thought I would give a quick tutorial on how to make these. Great for those expecting or with a little one already, or you could sew a few as a gift for a new baby.
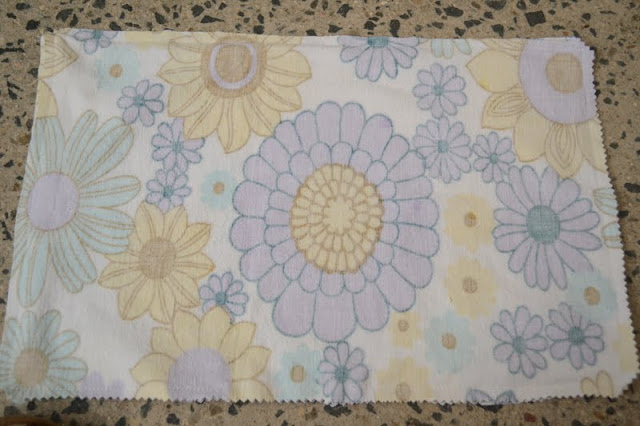
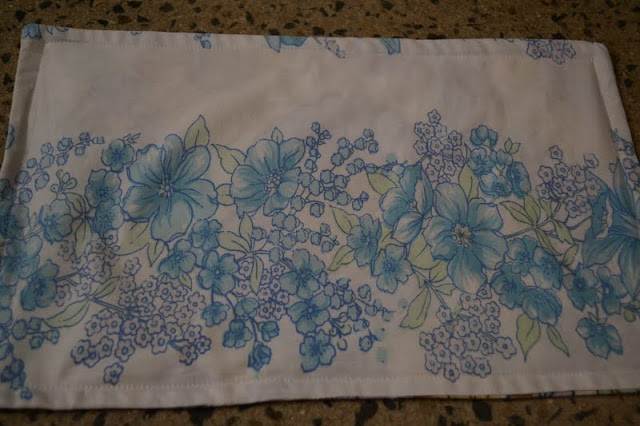
I used vintage sheeting backed with two layers of flannel. The sheeting to look pretty and the flannel for absorbency. You could use any combination of new cotton and replace the flannel with towelling. Natural fibres are best as they absorb far better. Though I did use a few poly cotton blend fronts with no adverse effects, as long as the back is absorbent.
I cut out one rectangle 42 x 27 cm in the sheeting cotton, and another two in the flannel.
 |
| cotton sheeting |
 |
| flannel sheeting |
Place together all three layers, with one layer of the flannel and the cotton sheeting right sides together.
Pin together.
With approximately 1cm seam allowance sew around the edges of the rectangle, being sure to leave a gap of a few inches to allow it to be turned out.
Trim corners and edges if necessary.
Turn right way through gap. Press.
Slip stitch to close the gap.
Sew a seam about a centimeter inside the rectangle to hold it together nicely.
(And I am sorry about the late afternoon, progressively getting darker shots!)
Finished! Burp cloth completed.
Which brings me to the fact that I have three burp cloths to give away. You don't have to have a baby to enter. Just leave a comment below and I will pick a random winner. Comments close on Sunday at midnight AEST. Winner announced Monday. Good luck!


This is a great mini-tutorial. I am baby free but may give these a whirl soon :-)
ReplyDeleteJem xXx
Lovely tute, aqnd especially lovely fabrics. I would really love to be in the draw, thank you.
ReplyDeleteThese are beautiful! I love the fabric! Thanks for the opportunity to win! That is, if you're OK sending them all the way to me! Cheers!
ReplyDeleteYeah, burp rags! I just made 4 more, but I did it simple simple. I used flannel and cut a loooonnnng rectangle with my pinking shears. Then folded the rectangle to a decent sized rectangle. Now, I've got multiple surfaces. :P
ReplyDeleteBut, is it possible to have too many of these?
You are a clever lady! Id live to win these as we are thinking about trying for another baby soon :)
ReplyDeletethey're lovely Tania, I love how you have used thrifted linens. My cousin is having a baby soon, they would make a perfect gift....thanks for the chance.
ReplyDeletelove these! and what a perfect for all those vintage sheet FQs that you will soon be swapping! i dont have any babies but i do have a slowly growing collection of baby items for my future vintage clad children!
ReplyDeleteKel x
Thanks for the tutorial, I may have to whip up a few of these. Totally in love with vintage fabric, they are just so pretty.
ReplyDeleteThese are just gorgeous. much prettier than the standard burp cloth I have to use when this bubba arrives.
ReplyDeleteThanks to for the easy to follow tutorial.
Kristie xx
I always just used a cloth nap thrown over the shoulder too, but how much more stylish are these burp cloths..just gorgeous and I love the fact that you used vintage linens.
ReplyDeleteThey will be perfect for #6 :)
x
these would be so much nicer than the old burp cloths we currently use. will have to try and make some :)
ReplyDeleteYes please! How lovely they are.
ReplyDeleteTania in Melbourne
The burp cloths look lovely Tania.
ReplyDeleteOh these are lovely. If the giveaway is open to UK readers I'd love them :) thanks x
ReplyDeleteI was very fortunate to win a giveaway over at growmama, so while I'm still feeling lucky I'm going to enter for this one! With new babies on the way, they'll be well used!! And so pretty...thanks Tania.
ReplyDeletei love the fabrics you use, my babies aren't so much babies any more but they still make lots of mess & i like have a stash of muslins on hand, so i'm sure these would still come in handy!
ReplyDeletekellyx
I liked the tutorial , great work done Tania!
ReplyDeleteAm I Creative?
Do you have the ability to generate new ideas, use imagination and make new decision?
http://www.3smartcubes.com/pages/tests/creative/creative_instructions.asp
You are such a creative lady in such a versatile way! I think I must be uncouth because in our house they are called chuck cloths!
ReplyDeleteI remember wearing a cloth nappy over my should for the first month or more! What a lovely alternative. Count me in. :)
ReplyDeleteThese look great! I have the exact same blue floral vintage sheet, and the same in purple too. Good choice! Great tutorial x
ReplyDeleteWonderful! I am pregnant with my second little one due xmas day and used plain muslins with my girl, Matilda - I wish i'd bothered or even thought to make somthing a little prettier for her. Thanks for the idea!
ReplyDeleteI remember using old nappies over my shoulder with my babies. I also remember going to the hairdresser one day when they asked if I knew I had vomit down my back!!! As if I would leave the house KNOWING that! It did explain the funny smell though...
ReplyDeleteI don't have a baby yet but i just came from my specialist today & he thinks it will be safe for me to start trying for one in 12 weeks (it's been a long wait due to a thyroid disease)I have no idea how to sew but i think i could give these a try if i'm not lucky enough to win one, they're divine!
ReplyDeleteYou have inspired me! I really must get my sewing machine out more often. I love your 'burp cloths', i just used a spare cloth nappy when my three were babies. However, I'm hoping to have another so a few of your 'burp cloths' may be in order.
ReplyDeleteThanks for the opportunity.
Cassandra
Barefoot Bride you had me giggling out loud. Your hairdresser trip story is great!
ReplyDeleteHi Tania, thanks for this. I was asked for burp cloths and have made six, but after reading the comments here, I might run up a few more.
ReplyDeleteYou've convinced me to buy one of Amanda's books. Which do you think would suit my situation here - Handmade Home or Handmade Beginnings?